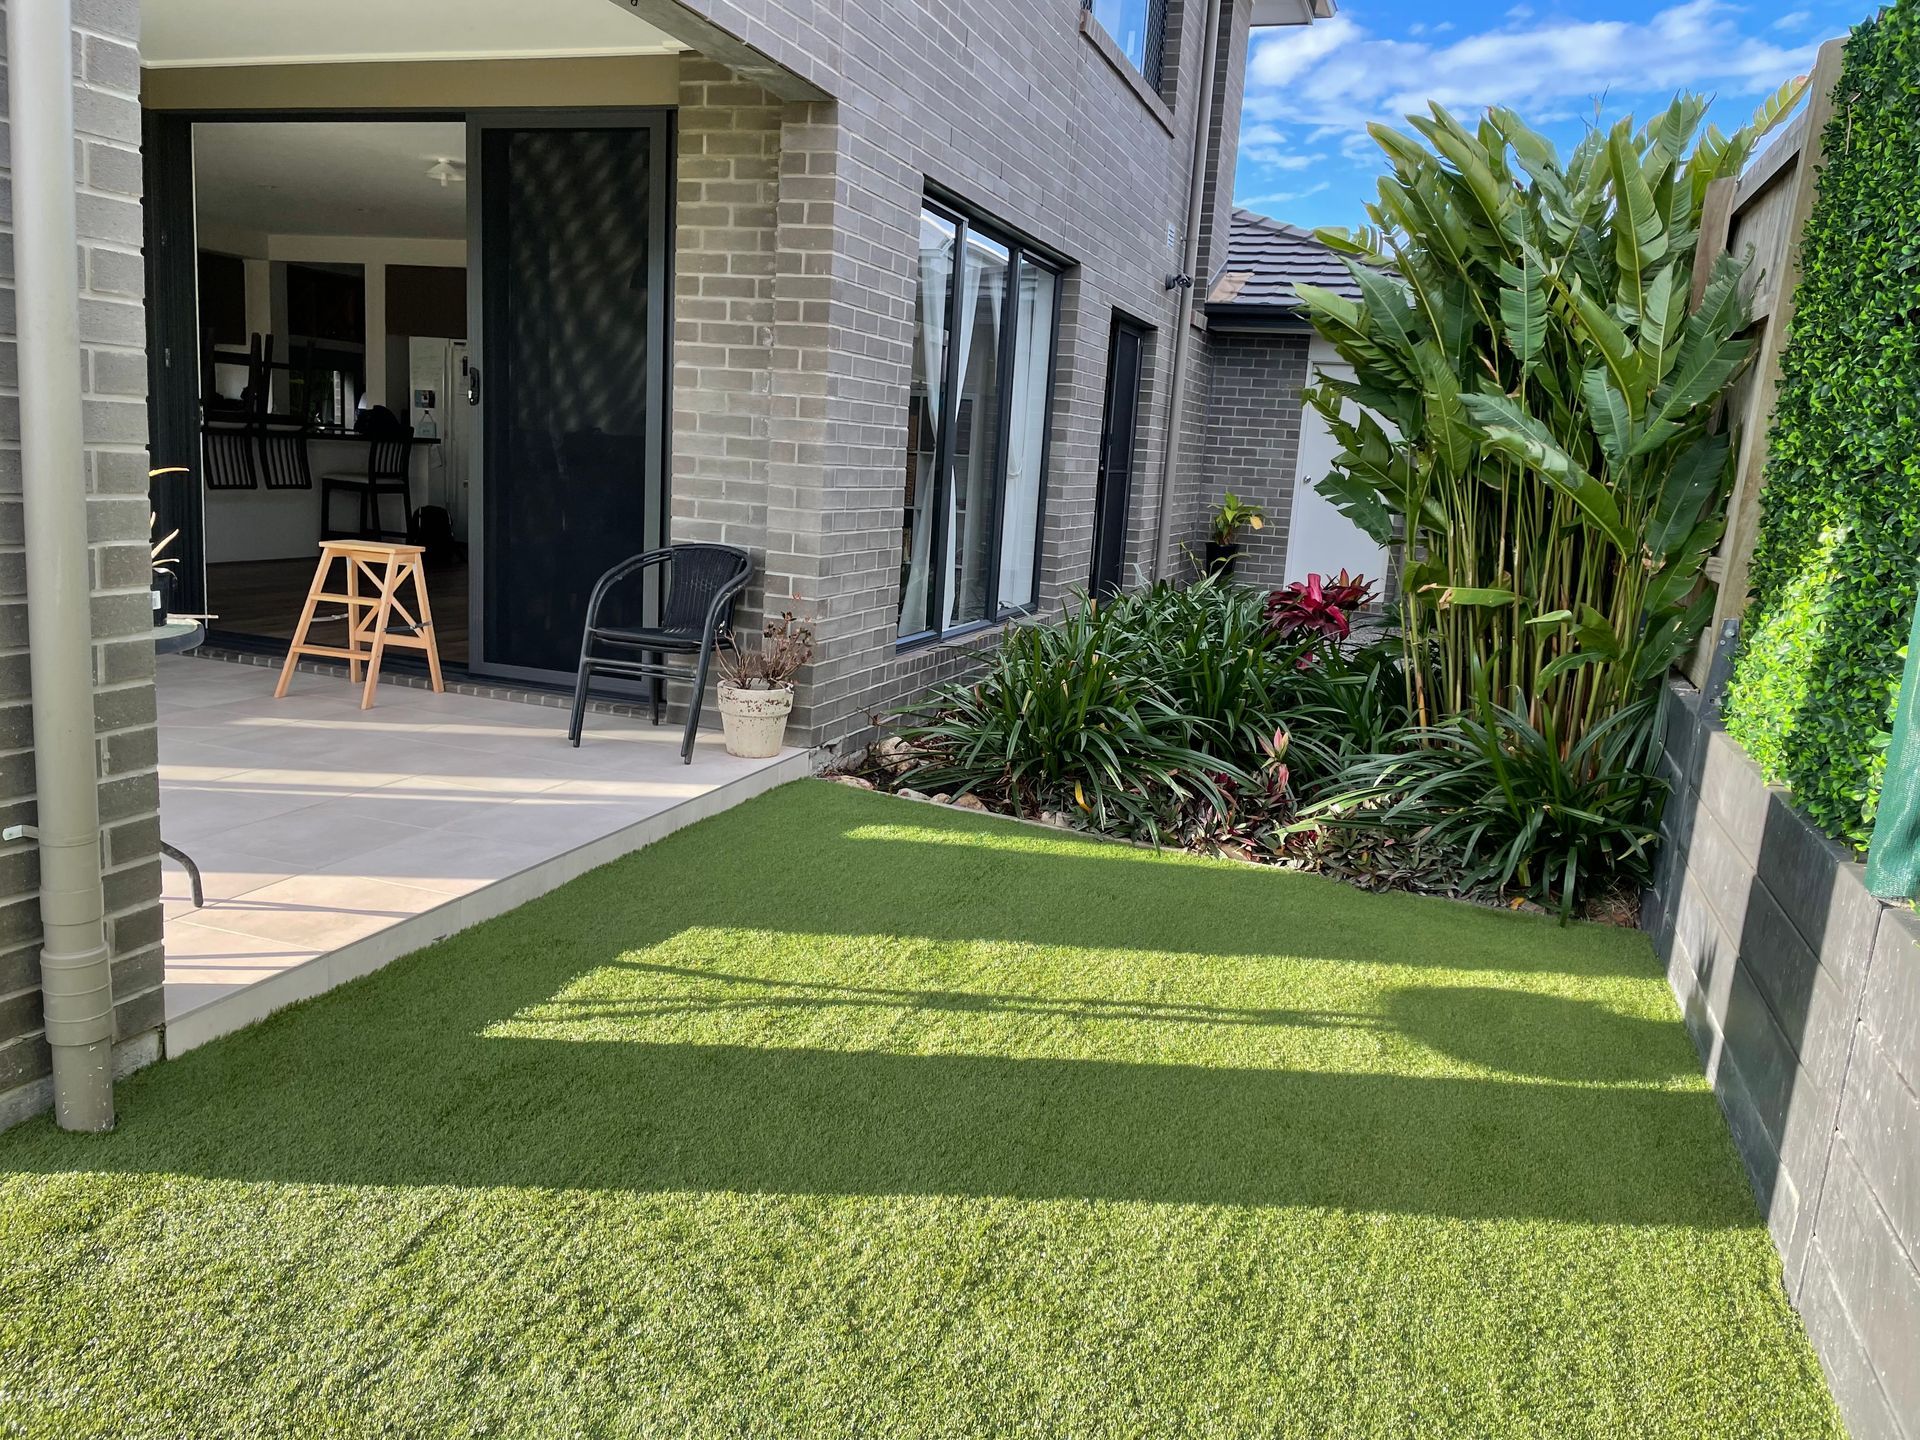
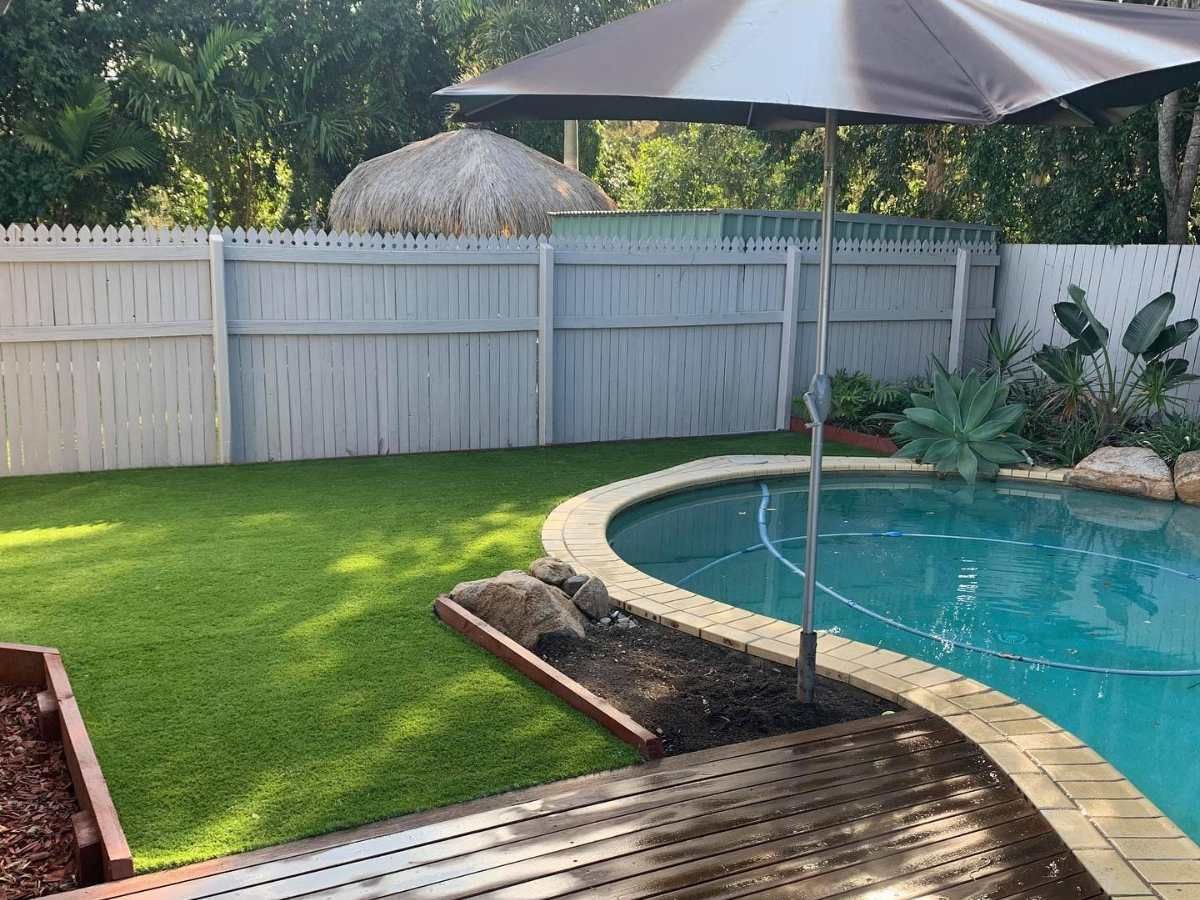
How to Prepare Your Lawn for Synthetic Turf Installation
There are many benefits of installing artificial turf in your yard. You may have decided to install fake grass due to its low maintenance or its ability to help reduce allergies in allergy suffers. You may decide to hire a professional such as Impressive Turf Solutions to install your fake grass, or you perhaps you’re looking to do the DIY installation yourself. If DIY is the route you want to take, there are tips and tricks you need to know.
Before you start, it is important to prepare the area properly for the best results for both short and long term. Proper preparation ensures that your artificial turf will be installed correctly and will look great for years to come. In this blog, we'll provide some tips on how to prepare your lawn for synthetic turf installation.
Step 1: Clear the Area
The first step in preparing your lawn for synthetic turf installation is to clear the area. Remove any existing grass, weeds, or debris from the area where you plan to install your artificial turf. Having a clear and blank slate to start is essential!
Step 2: Level the Ground
After clearing the area, you need to ensure the ground is level. Use a leveling tool or a straight board to check the level of your ground. If you find any low spots, you can use a shovel to fill them in with soil. If you find any high spots, you can use a sod cutter to remove the excess soil.
Step 3: Add a Layer of Crusher Dust
Arguably the most crucial step in this process is adding a layer of crusher dust. This layer will help to create a stable base for your fake grass that will prevent your new fake grass from sinking or shifting over time. Using a shovel followed by your leveling tool, spread an even layer over your area.
Step 4: Compact and Compact Again
Once the crusher dust layer is in place, the next step in your synthetic turf installation is to lightly spray the crusher dust with water and then compact the area. Be sure to do this step multiple times as this helps to create a level and stable surface for your fake grass. By skipping this step, you run the risk creating drainage problems or uneven fake grass, neither of which you want. Uneven synthetic turf is unsightly as well as unsafe.
Step 5: Install the Artificial Turf
Now that you have prepared the area properly, you can start to lay your artificial turf. Lay the artificial turf out on the prepared surface without dragging it across your new level area and then trim it to fit. Make sure that the edges are properly aligned and that there are no wrinkles or bumps in the turf. Use landscape staples to secure the edges of the turf to the ground.
Step 6: Add Infill Material
After the artificial turf is installed, you need to add infill material to help it stand up and maintain its shape. We usually recommend an infill made of premium sand to spread over the surface of the turf. Spread the infill evenly to ensure that it is properly distributed throughout the turf. This step is crucial for best results.
Preparing your lawn properly for a DIY synthetic turf installation is critical in ensuring that your new lawn looks great and lasts for years to come. By following these steps, you can enjoy your synthetic turf for many years to come.
If you are unsure about any of the steps or would like additional information on new artificial turf, be sure to check out our DIY Installation Guide or contact us at Impressive Turf Solutions. We are the synthetic turf experts and can guide you to the best product for your needs.


